
I have absolutely no idea why I called this tut such. I like ELO so
that might have something to do with it lmao!
(I find naming tuts tricky sometimes)
Anyway...
SUPPLIES NEEDED
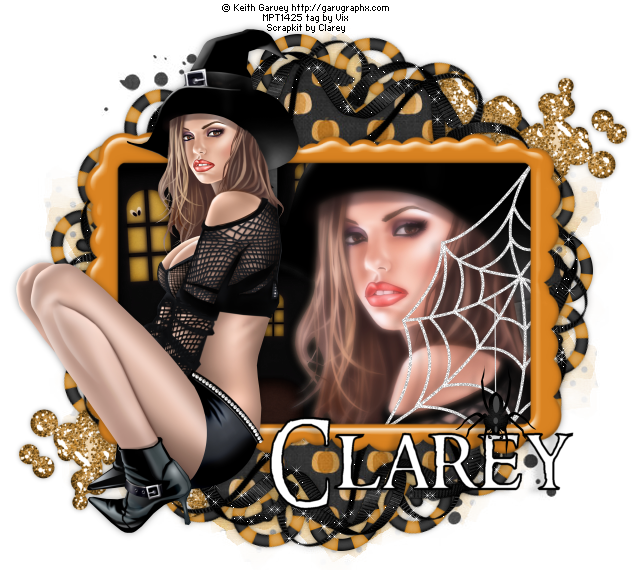
Tube of Choice - I'm using Goth Chick by Keith Garvey
To use the same you must purchase from MPT, but feel
free to improvise with what you have
Scrapkit - Emo Girls Tag Kit by my mate Clarey - love it!
You can purchase this kit HERE
Wordart by me - I created this specifically to go with this
tutorial. Please do not share it, use in other tuts, in scrapkits,
on templates, in mask or wordart creation...all the etc you know. It's just
for you to use with this tutorial or in any other tags you might
wish to make. But, that's it xx Thank you :)
You can get Rock HERE and Chick HERE
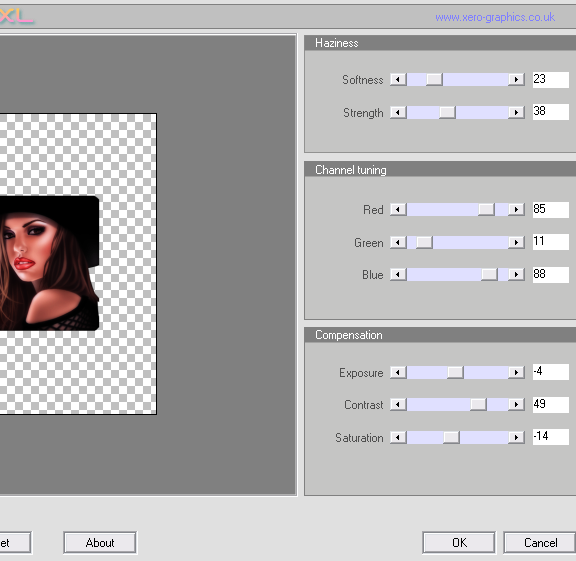
Xero Greyscaler - oh, you know where to find it :)
______________________
The Usual - 700 x 600
Add New Layer
FF White
Now open the Paper12
Resize 86% SS
Then
Taking your Crop tool - crop a section of the paper to
125 wide by 500 high
Tick to crop
Then Edit, Copy and close your Paper - and DON'T save the changes!
then Edit, Paste as a New Layer
It should position the paste fairly centrally - which is fine
OK
Open Paper 13
Repeat as above
(Your Crop Tool should have remembered your Width and Height settings
So move the crop section around the paper to get the area you'd like cropped - and hit Tick to apply)
Repeat for Papers 19 and 18 - not forgetting to resize the paper each time before you crop?
Fab!!
OK - so on the tag canvas - we have 4 strips of Paper
Top one - Pink Spotty paper - Image, Free Rotate, Left, 20 degrees and move it over
to the left of the tag canvas
Adjust, Sharpness, Sharpen
Click on next paper strip down - black and white chequered
Image, Free Rotate, Right, 45 degrees and leave where it is
I didn't feel it needed a sharpen, but if you do - then repeat the Sharpen as above
Click on the next paper down in the LP
It's skulls and bolts and stuff
Using move tool
Move it over on the tag canvas so it's just near the pointy edge of the chequered paper
See my tag for ref
And on the bottom paper strip...leave as it is
So hopefully, your basic tag should look vaguely or similar to mine?
Good-oh!
Right then...
Open your tube
Copy and Paste
Place as mine - line up as I've done and
position in the LP so it's below the pink polkadot paper
Now click on the Pink Polkadot paper
Image, Duplicate, Image, Mirror
and move this duplicated layer right down the LP
so it's just above the White Background
Repeat this for the chequered paper
Open Droplets2
Resize 50% SS
C&P
Place on the top left of the tag
Have it in the LP just above the two vertical paper strips
Now Duplicate it
BUT Don't mirror - just use move tool and move it over to the right
Open StarBurst2
Resize 90%
C&P
Place in the LP just above the White Back
Open bottlecap3
C&P
Place as mine
Now, if you've placed your tube as mine - the combination of the pinky paper
and this bottlecap should cover the tube edge at the bottom - huzzah!
lol!
Right, on we go...
Open swirlyframe5 (or one of the other colours of your choice)
Resize 80%
C&P
Place under the droplets layers in the LP
Open flower1
Resize 50%
C&P
Place as mine
Open flower 2
Repeat as above
Open smoke3
Resize 60% SS
C&P
Place as mine on the bottom left
in the LP below the Starburst layer
Duplicate
Image
Mirror
Image
Flip
Open starcluster2
Resize 60% SS
C&P
Place as mine bottom left
ABOVE the smoke layer in the LP
And repeat the Dup, Mirr and Flip for this
But in the LP, move the left stars above the Swirlyframe and
the right stars, leave where they are
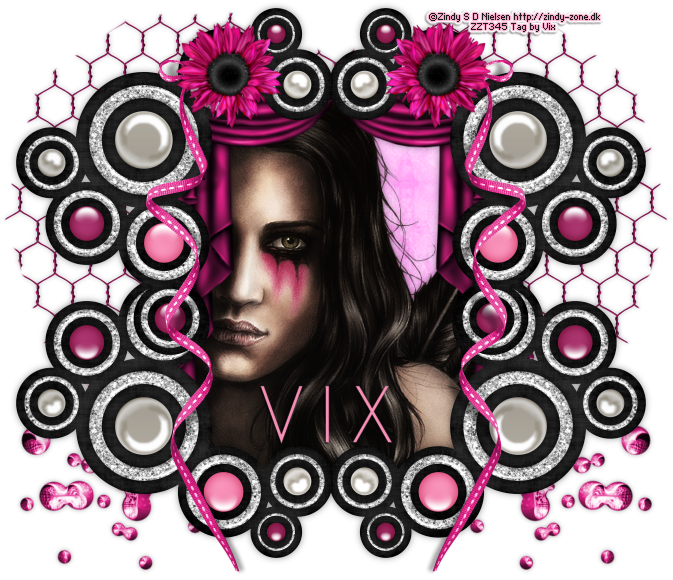
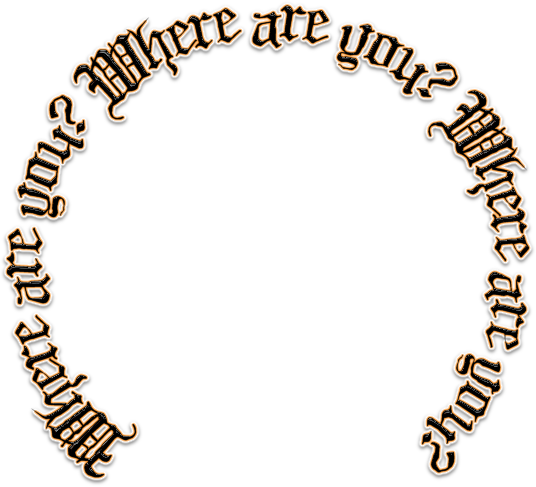
Now open my wordart which I made for this tutorial (just a quick
remind...no sharing, ta)
C&P
Place them on their corresponding paper strips - ROCK goes on Pink
Polkadots and CHICK goes on the chequered one
Place them just above their respective paper strips in the LP
They are already shadowed and angled, you just use them as they are :)
OK
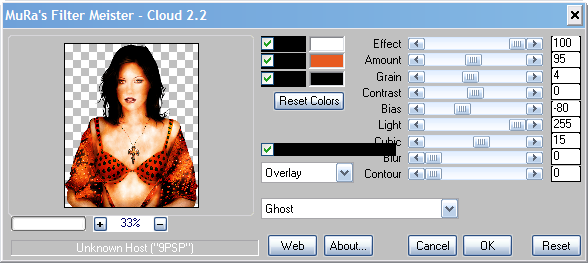
On the tube layer
Duplicate it
On the bottom tube
Xero Greyscaler on the default settings
then add a dropshadow of
-1, 10, 12, 2.00 Black
and on the top tube, just drop the opacity down to 44
Use the same shadow for the angled pinky polkadot paper strips and the
angled chequered ones and the right vertical strip too*
*NOTE: At this point, once all my stuff was placed, I moved the back black and white chequered strip UP
the tag canvas so I could see it more. I write these tuts as I make the tags and
I decide to move this strip 'til now lol - so please do the same, it's behind the tube's
head, just use move tool and move it up a bit and shadow
Use this shadow for the swirlyframe, starclusters, flowers, bottlecap and droplets
1, 6, 12, 2.00 Black
Don't shadow the smoke or starburst layers
And finally, add a shadow of
0, 0, 35, 7.00 Black to the back paper strip (the pink splatters one)
Now crop the canvas to a more taggy size - I got down to 690 x 582
but take care when you crop not to take out any shadow or edges of elements
Add your artist info now
and
then
Taking a colour from the tag as your Text tool Stroke Width of 2.00
and your fill on Black
Use the Right droplets as your name position
and
place your name
Use your same shadow as used for the elements
(I also added the name again in White with a contrasting font and a sharper shadow)
Now
Delete the White Back and save as PNG for best quality
Ta...and may I add...Daaaaaaaaaaaaaaa!! ;)
((hugs))
This tutorial was written 19th October 2010


