
And now I can't stop singing that Michael Buble song!!
Supplies Needed
Tube and Image of Choice - I'm using one of last year's Hallowe'en ones by Barbara Jensen
Barb has some new ones out for this year so check them out too! But I love this tube
so am using it hehe
Scrapkit - yeeerrrrs! It's mine again -
purchased from Clarey's store HERE - Thank you if you do, it's very appreciated xx
and it's now a FREEBIE! FTU kit - you can get it HERE
Mura Meister Clouds
Mask - Vix_Mask341 available from my
tutorial site under Goodies HERE
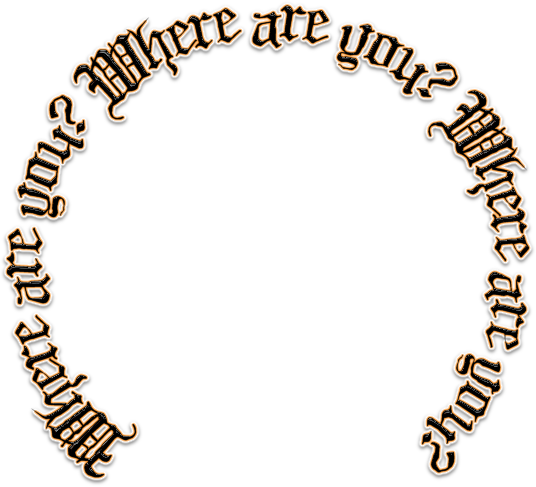
Wordart - by me, made specially for this tutorial - please do
not use it in any other tag tutorials, or in the creation of
templates, masks, scraps, etc...you know the score :) PU only xx Thank you
You can get it HERE
____________________
Open a New Image in PSP
650 wide by 600 high in 72 pixels/inch resolution
Add new Layer
Floodfill White
then
Open FrameCircle
C&P
Open the GreenCurtains
C&P
Place under the frame layer
and move slightly off centre then
Add a good dropshadow of choice
and
do a Selection Delete with an Expand of 6
Note: you can adjust the colour of the curtains if liked - I did :)
Then open Paper5 (Orange Chequered Pattern)
Image Resize 86% SS
C&P
Place under the Frame and Curtain layers
and
repeat the Selection Delete for this layer
Open Paper 21
Resize as before
C&P
Move down the Layer Palette just above the White Back
and Crop the Canvas to it's size (this gets rid of the 2 pixels excess from the paper lol!)
and the apply Vix_Mask341 to this paper layer
OK So now open your chosen image and tube
Place them as mine
If you want to have your tube emerging from the frame
please see my previous tut on the method for doing this
then
Move the image tube under the frame and curtain layers
but above the paper fill layer
then
Take your magic wand
Click outside the tube area on that layer
then
Selections Invert
then
In your Materials Palette, have your top box on a colour from the
tag and the bottom box on Black
then go to
Mura Meister Clouds
and
look for the Ghost Preset
Apply as mine below
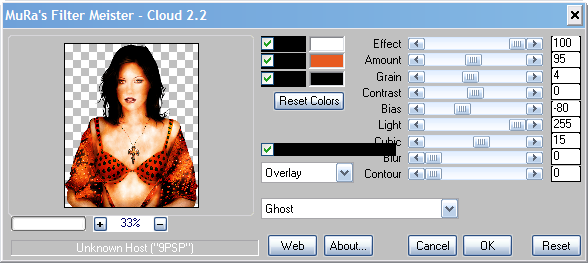
(you may need to hit Reset Colours before applying)
then when applied
Change the Blend Mode to Screen
and
Do a Selection Delete for the excess image area
See what's happened, the Ghost effect has added some lush shading
around the tube's face...well, it did on my one, I hope it does on yours too :)
Open OrangeDoodleSwirl
C&P
Place as Mine
Above the mask layer in the LP
and position as mine
Then I erased the pointy part of the doodle that was showing
at the bottom left
then
Duplicate
Image
Mirror
Image
Flip
Open the Piece of Tulle
C&P
Place as mine under the curtain layer
and have it sticking out over the tube image face
but in a subtle way :D
Then
Do a Selection Delete to get rid of the excess
(No need to shadow, the element is pre-shadowed)
Open StringFlower2 (the orange one)
Position as mine on the left
then
Duplicate
Image
Mirror
Image
Flip
and move these two flowers layers down the LP to just above the
Doodle swirls layers
Then optional - add some sparkles or glitters from the kit
I used the Silver Scatter, I resized 70% and Adjust, Sharpness, Sharpen
then positioned, dupl, mirrored and flipped
Open my Wordart as provided
Recolour if needed and C&P and place as mine
So now - shadows!
Apply a dropshadow of 0, 0, 40, 10.00 Black to the frame layer
also apply to your bottom tube layer
then
for the Doodle Swirl and String Flowers - 2, 0, 50, 5.00 Black
So now crop your tag canvas if needed
Add your name in a font and style of choice
Add Artist info
Delete White Background
and
Save as a PNG
Ta-daaaaaaaaaaaaaaa!!!
Simple, but nice :) xx
This tutorial was written 6th October 2010.