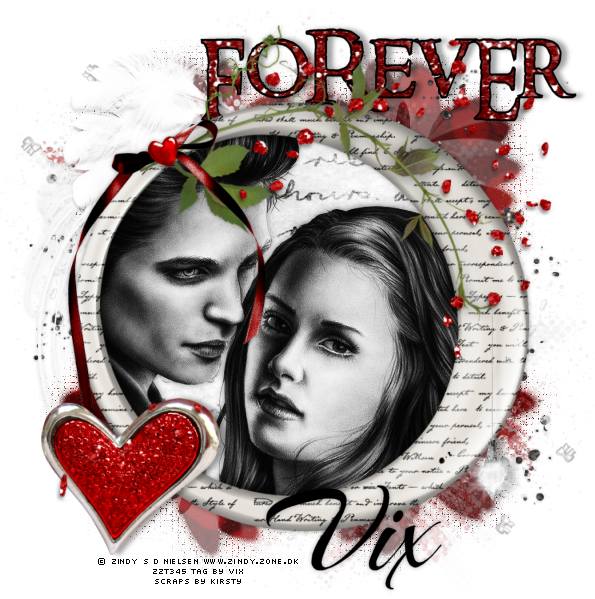
I am happy to admit, I love Twilight. In fact, it's Edward
who I love hehe. So this gorgeous kit just screamed Twilight
at me. Hence this tag :)
For this, you will need...
Tube or Image of your Choice - I'm using a free - yaaars free lol! -
tube by the fantastic Zindy - get it from her site HERE if you'd
like to use the same
Scrapkit - FTU and it's a complete stunner! It's part
of the Fangtastia blogtrain and this part was created
by Kirsty - it's superb hun, thank you xx
Get it from her blog HERE and please leave some love
if you take it.
Masks - both by me - Vix_Mask307 and Vix_Mask336
both of which can be downloaded from my tut site HERE
That's it - no filters as this kit is so lush it
doesn't need any help hehe xx
_______________
The Usual
then
Open KISM_Fangtasia_Frame2
Image, Resize, 80% Smartsize
C&P
Place centrally to the tag canvas
Open Fangtasta-Paper2
Image, Resize 75% SS
C&P
Move under the Frame layer
Apply my mask Vix_Mask336
Layers, Merge, Merge Group
Move the mask layer up and slightly to the left
Duplicate Mask layer
Move the duplicate down and slightly to the right
Open Fangtasia-Paper10
Image Resize as before
C&P
Take your Selection Tool, on Freehand Selection, Point to Point
and draw around the inner circle part
Once you've got a circle selected
Selections, Invert
and hit Delete on the paper layer
Open your chosen tube, or image
C&P
Place where it looks best for you
Duplicate
Adjust, Blur, Gaussian Blur, 2.00 on the top one
and change the Blend Mode to Soft Light
then
Apply a dropshadow to the bottom tube layer (if needed)
and use Selection again to delete the excess
Open Feather1
C&P
Place as mine
(move it down the Layer Palette so it's under the paper fill layer
but above the masks layers)
Open the FeatherSplatter (stunning!)
Image, Resize 80%
C&P
Tip: for the Moment, floodfill the Background Layer BLACK
so you can see what you're doing but floodfill White when you
see this ***
Move the FeatherSplatter over to the Top left
take care not to touch the edges of the canvas
Once placed,
Duplicate
Image
Mirror
Image
Flip
Now, move both of these layers down the LP
so they're just above the Masks layers
Jiggle them about if necessary so the flecks aren't touching the canvas edge
***
Open GlitterRosePetal-1Shad
Image, Resize, 80% SS
C&P
Place as mine
then
take your Eraser tool on a hard small setting
and erase any of the petals that are overlapping
too much of your tube/image
(I used my eraser on a square setting, Size 102, Hardness 100, Step 5, Density 100, Thickness
100, Rotation 0, and Opacity 100 - this setting is good for leaving nothing behind lol - I
then erase some of the petals that were over Bella's face)
Open GlitterSplatter-1
Image, Resize 90%
C&P
Move down the layer palette to just above
the masks layers
Open Heart3
C&P
Place as mine
Move it under the Petals layers
Open Light1
Image, Resize 30% SS
C&P
Line up under one of the petals over on the right
Open Paper1
Image, Resize 75%
C&P
Drop this layer below all the others
except the White Background layer
and
apply
my mask Vix_Mask307 to this paper layer
and merge group
Open Glitter2
Image, Resize 75%
then
Go to your Materials Palette
and find the KISM_Fangtastia-Glitter2
Move this to the Background Box
Have your Foreground box on Black, 2.00 Stroke
And taking a favourite font of choice
Type out a word to go with your tag
As I'm using Edward and Bella, I used Forever
Type it out
Stretch if needed
and
Convert to Raster
Take care to move this word down the Layer Palette
so that it's below the Petals and Frame layers
Now on the Heart, Word and Light layer
Apply a dropshadow of
0, 6, 35.00, 7.00 Black
or choose one of your own favourites to use
For the Frame layer
0, 0, 35.00, 7.00 Black
Now add your name in Black fill, No Stroke
in a scripty font of choice
I used my full name - for once lol!
Apply your artist info now
Don't forget, if you use Zindy's free tube
and you DON'T have a ZZT license - then use zzt free art
as well as her Copyright info
Crop the excess canvas now - though there isn't much
to crop as there's lots of lovely scattered bits, so take care when chopping!
Delete the background layer
and save as transparent .PNG for
optimum quality
Enjoy!